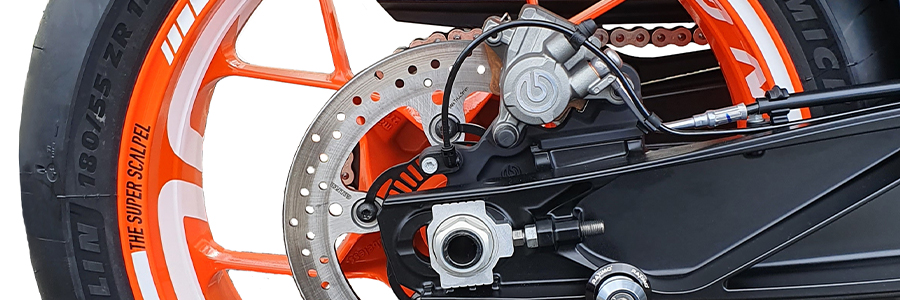
Cast rims
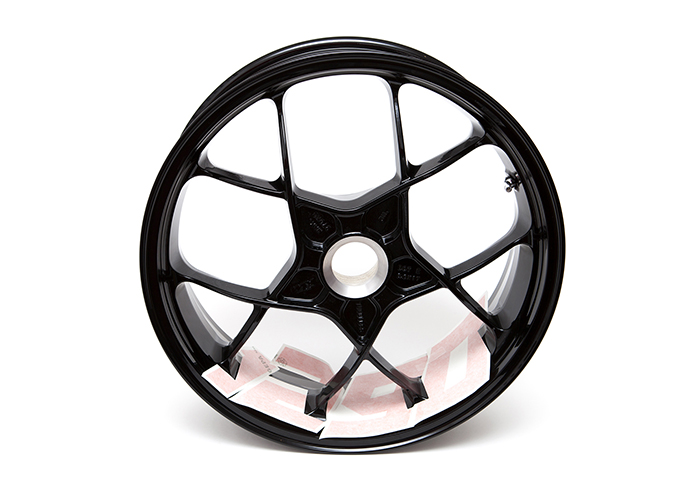
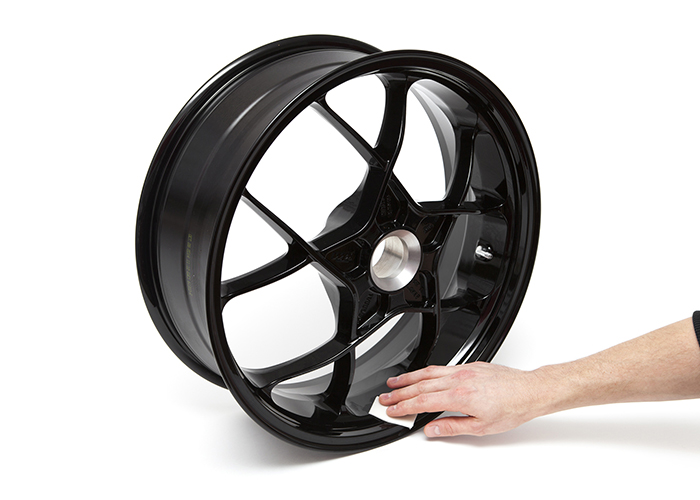
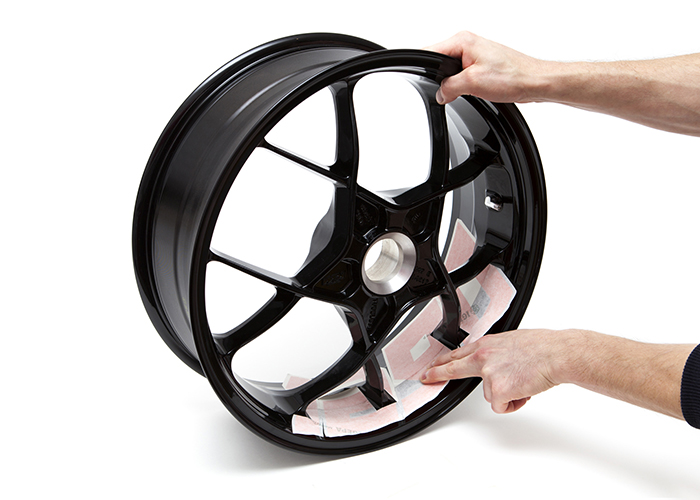
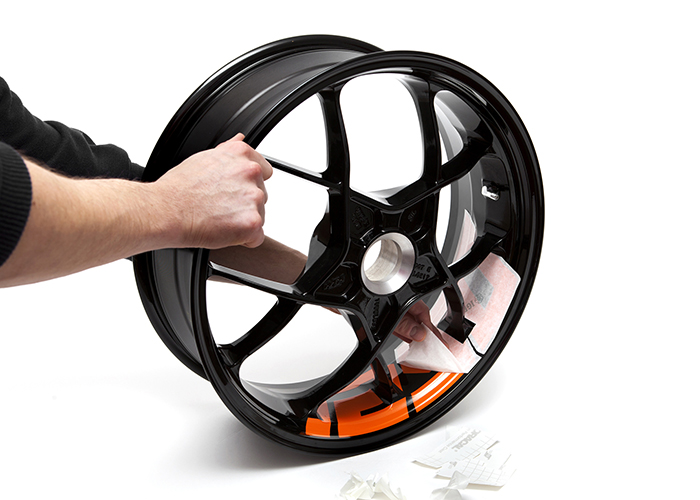
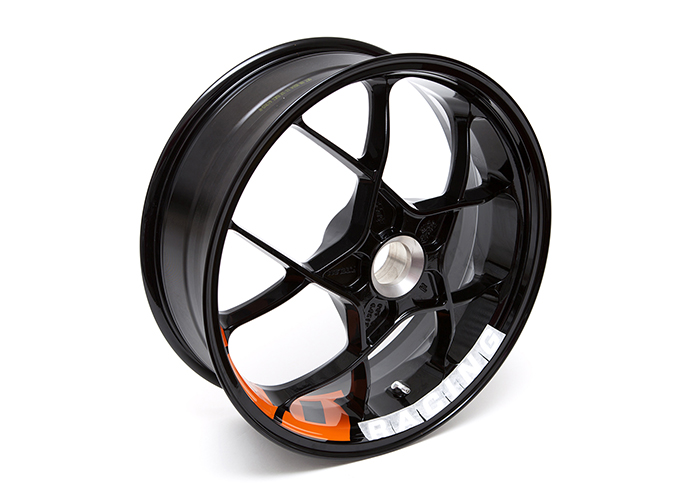
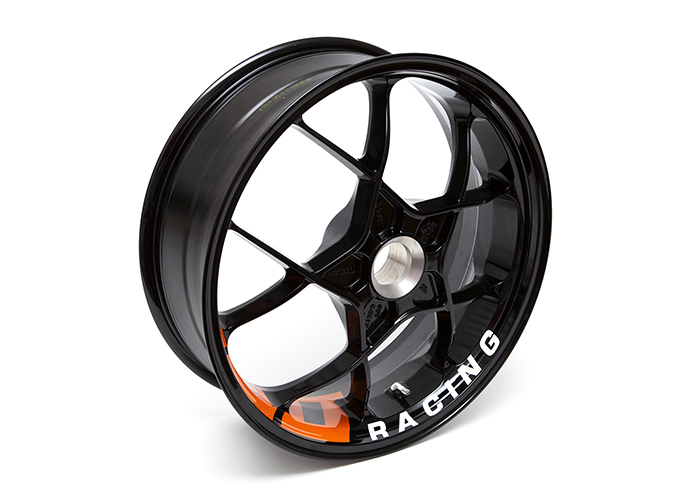
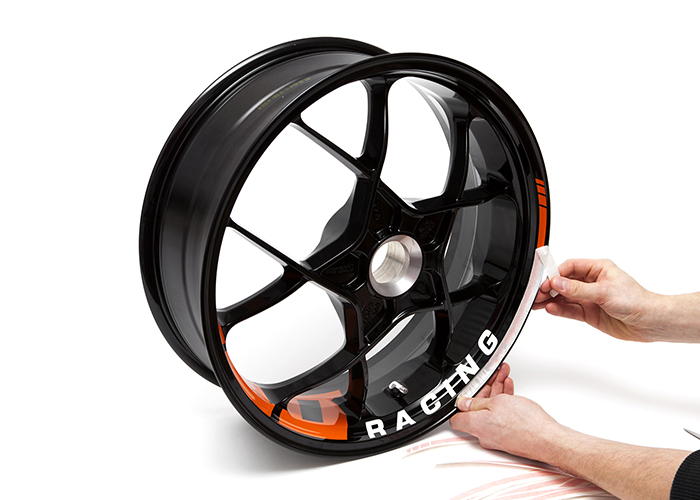
The stickers for cast rims are cut on the back and divided into 3 parts. This is to facilitate the assembly. The divided and labeled back is peeled off one after the other. The first thin strip in the middle is to place the sticker in the correct position in the rim, without destroying the sticker by pulling it off again to correct the position. Only when the correct position has been found do you peel off the section labeled number 2. Then work carefully from the inside of the rim to the outside. Once the sticker has been glued on this side, the third strip is removed and glued in exactly the same way as in the previous section.
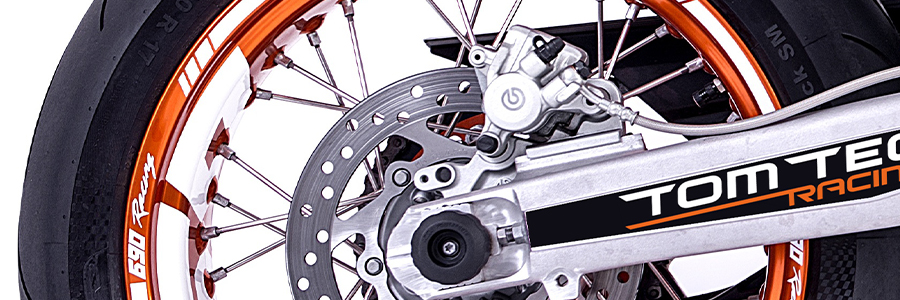
Spoked rims
The stickers for spoke rims are movable enough by the many holes to be placed around the spokes, and so quasi automatically fall into their correct position. That is why the back is not cut here. Here the back is simply solved letter by letter / number by number in the rim and glued in succession. Similar to the cast rim here again from the inside of the rim, with the spokes to the edge of the rim.
Mounting process
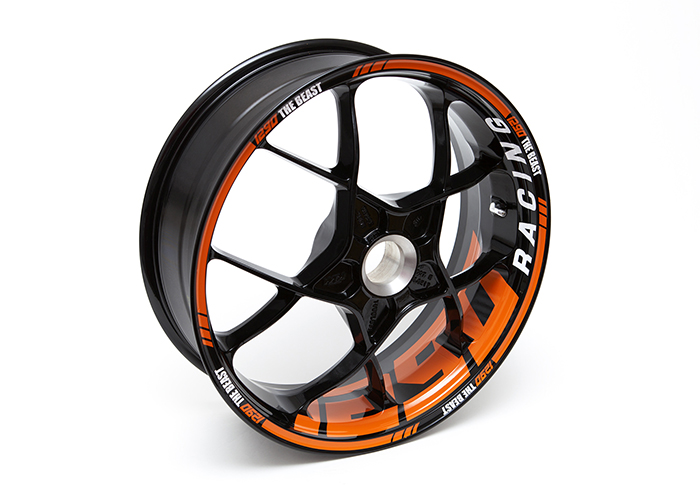
As can be assumed from the texts on cast and spoke rims, the basic steps for applying the rim stickers do not differ in the fundamental points. Therefore, here is the assembly process using the example of a Super Duke rim (2014-2019):
Step 1. Cleaning and applying the stickers
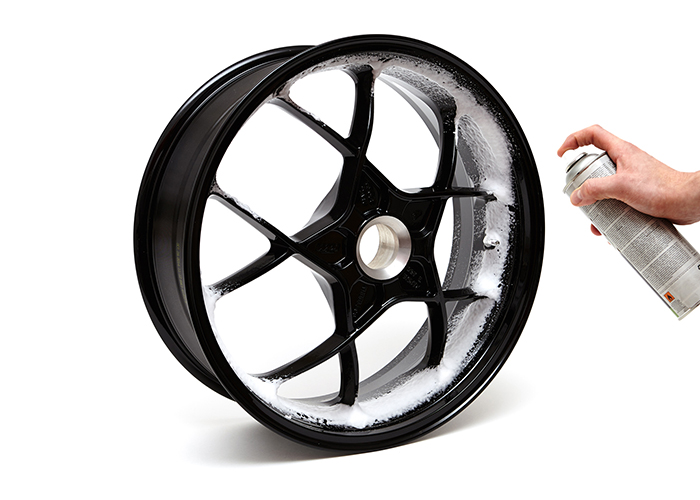
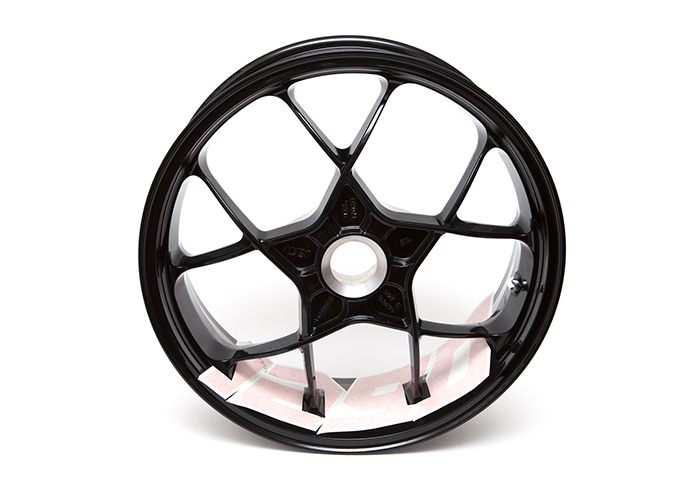
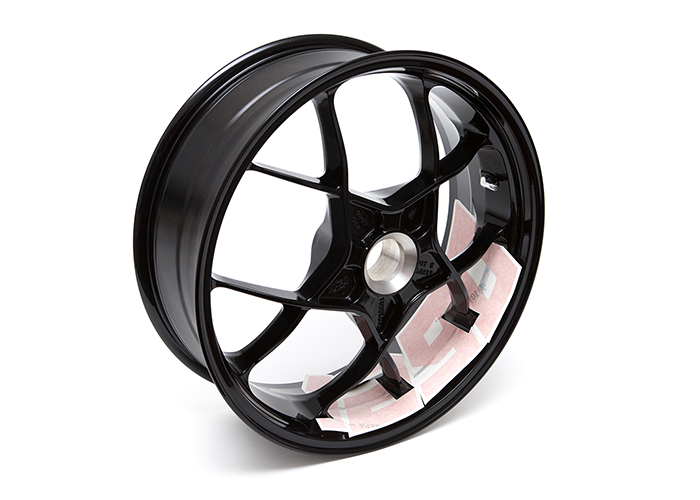
The beginning and the most important step in this whole process is cleaning the rim. Depending on how well you clean the rim, also holds the sticker. Cleaning is the be-all and end-all in the entire assembly process. Next, the stickers are placed around the spokes. Here you must make sure that you have started with the right spoke. It doesn’t matter if it’s a cast or spoke rim. The spacing of the spokes often varies, between 2 or 3 different sized spacing. Even with spoke rims, where the distances at first glance always look the same. Once the correct position has been found, it is best to wipe through the rim again to remove fingerprints and moisture.
Step 2: Sticking on the main sticker
Here is the only point where stickers for spokes and cast rims differ. The idea remains the same. Work your way from the inside of the rim out to the rim. From the first spoke to the last.
- For spoke rims, your spokes will help keep the sticker in place. Loosen the thick backing paper piece by piece and cut it gradually smaller.
- For cast rims, the backing paper comes off in the numbered sequence.
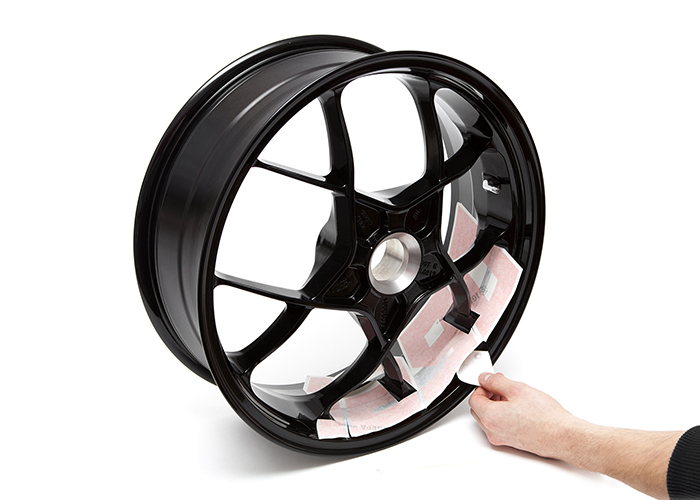
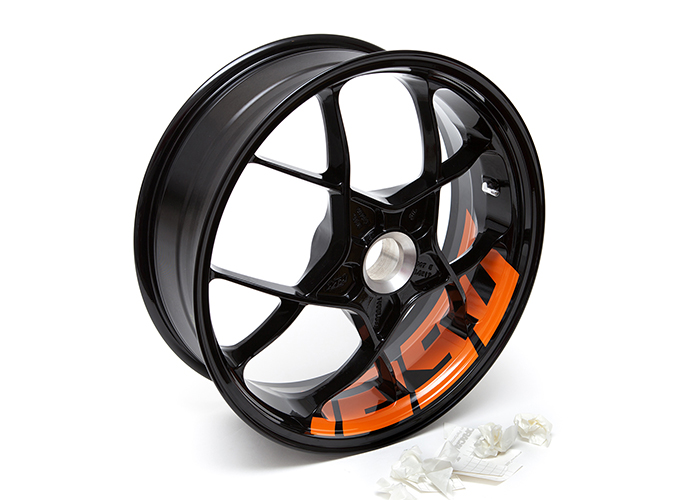
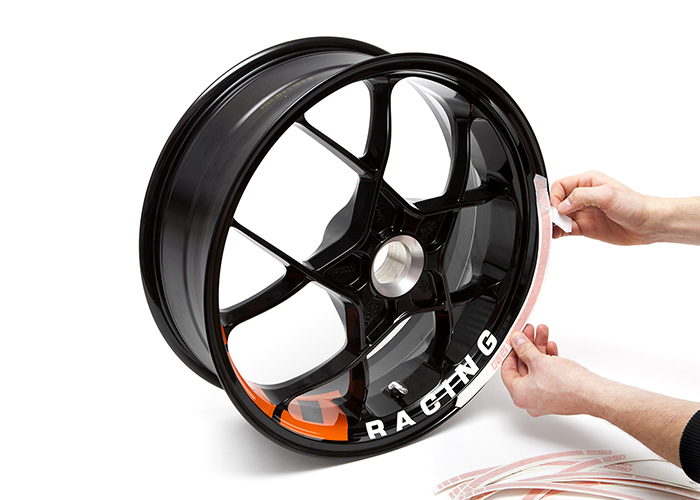
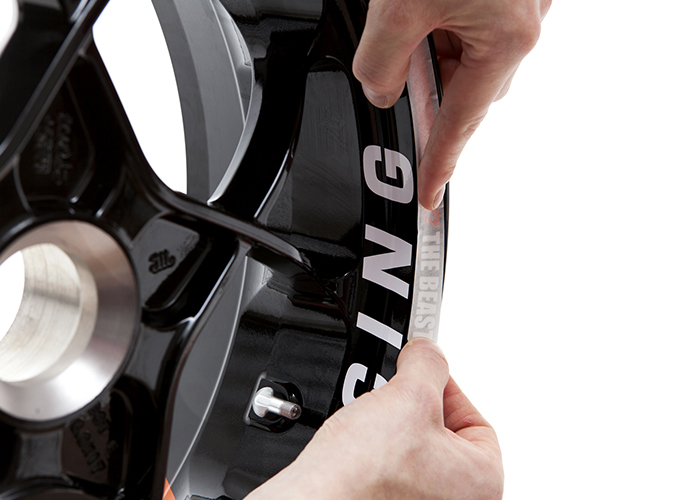
Strip 1 is intended to fix the sticker in the correct position. The strip is so small that even lifting the sticker again should not damage the sticker. If the position is correct you can stick one of the two sides ready. As mentioned above, start on the inside of the spokes and then move outwards towards the edge of the rim. When one side is finished you can glue the other side in the same way. Then press everything down again and carefully remove the transfer paper. Carefully, because we want to make sure that we do not pull off the sticker at smaller corners and thus break the sticker after everything is done. If any corners come off when you peel off the backing paper, press them down again before you peel off more of the backing paper.
Step 3: Stick on the secondary stickers.
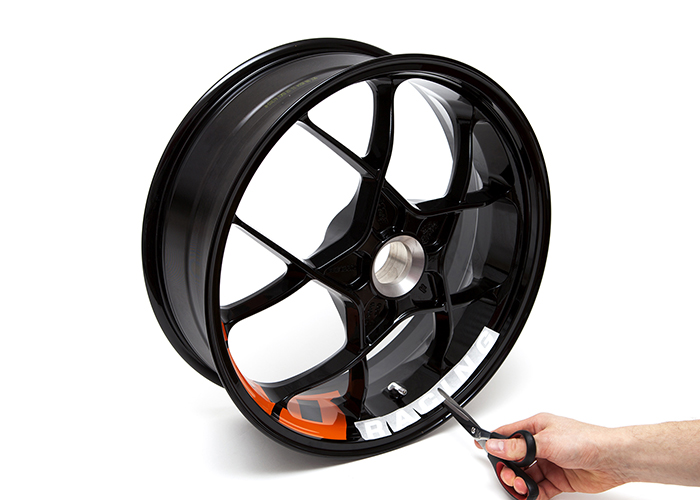
The secondary stickers are quick and fairly unproblematic to apply. Note: Some sets do not have secondary stickers. If you are concerned you can skip this text section. The secondary stickers only need to be cut a little between the letters/numbers so that the transfer paper does not stretch so much. So the sticker should not cause you any problems when sticking. It is best not to cut the sticker until the backing paper has been removed and the upper side of the sticker is already stuck to the rim. Otherwise you may tear the sticker when you remove the backing paper. After cutting it is very unstable and difficult to bring to the right position, which is why I would make the cutting, as seen in the pictures only after the partial sticking.
Step 4: Glue on the rim rings
Cut the rim-ring sheets into individual strips. At best, clean the rim again before gluing in your first ring strip. At best, temporarily fix the rings to the rim with masking tape to determine the approximate position for each strip. The sticking you do at best from the line to the writing and similar to the other stickers, Slowly from one side to the other, without immediately peel off the backing paper completely. Before you glue on the next strip, make sure that there is always a 2-3cm gap between the strips. Repeat with all 16 ring strips (8 for each wheel and 4 for each side) until you have glued everything. Each set contains 2 spare strips, so don’t be surprised if you end up with strips over. Once the rings are in place, it’s best to press all the stickers firmly to the rim to make sure everything is completely glued. Now the whole set should stick and you’re done. As for future motorcycle washes: Don’t worry if you’ve done everything right here, you can go into the rims with rim cleaner and high-pressure cleaner without any problems and without anything coming loose.

